
Group Report Sections
September 22, 2022 - by Bill Jelen

Problem: The grouping feature feels backwards. What if I have report headings above each section and I need to group the data below the heading?
Strategy: I picked up this great trick from Mack Wilk, one of the two-time ModelOff World Financial Modeling finalists. There is an obscure setting that makes grouping work the way you want it to work. Mack uses this trick in his models, with multiple levels of grouping. It creates an uncluttered view of the model.
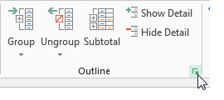
1. On the Data tab, click the Dialog Launcher in the corner of the Outline group.
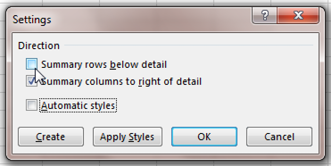
2. In the Settings dialog, uncheck Summary Rows Below Detail.
-
3. Select the rows underneath the heading for section 1.
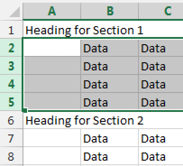
4. Press Shift+Alt+RightArrow to group the selection. Repeat for the rows for each section.
Gotcha: When you mistakenly press Ctrl+Alt+Right arrow, your display may turn sideways (as if you were going to mount your monitor in a portrait fashion). Press Ctrl+Alt+Up arrow to return the monitor to the correct orientation.
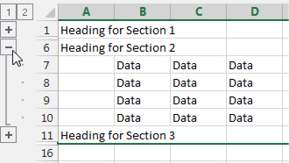
You will now have group and outline buttons to collapse all sections. Use one of the + icons to display any section.
This article is an excerpt from Power Excel With MrExcel
Title photo by Erik Karits on Unsplash