
Define Relationships in Power BI Desktop
April 26, 2023 - by Bill Jelen

Power Pivot was revolutionary in Excel 2010 because of three things:
- Define relationships between two tables
- Add a new measure (or calculated column) to a pivot table using DAX formulas.
- Add a new column to a table using DAX formulas
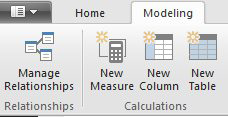
Those three tools are available on the Modeling tab in Power BI Desktop.
Choose Modeling, Manage Relationships. Power BI already detected the relationship from Sales to Geography. You have choices to Add, AutoDetect, Edit or Delete a relationship.
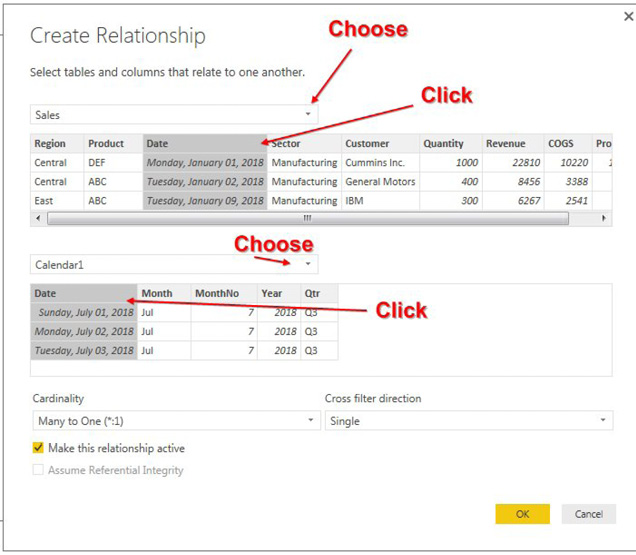
Choose Add to create a relationship between the Sales data and the Calendar table.
Open the top drop-down and choose the Sales table. A list of fields will appear. Click on the Date heading to choose the key field in the Sales table.
Open the second drop-down and choose the Calendar table. A list of fields will appear below this drop-down. Click on the heading for the Date column.
Review the settings for Cardinality and Cross Filter Direction. Click OK.
This article is an excerpt from Power Excel With MrExcel
Title photo by Markus Winkler on Unsplash