Add a Printable Watermark
October 18, 2021 - by Bill Jelen

Problem: I would like to add a “Draft” watermark on each page of my printed worksheet.
Strategy: The center header is the gateway to adding a semitransparent watermark image that will print behind your document.
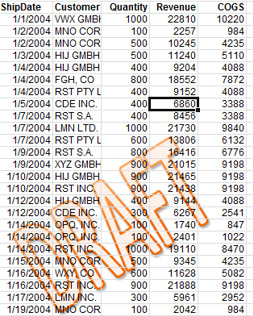
To effectively use this trick, you need to create a graphic that has a fair amount of white space at the top of the picture. The figure below shows a DRAFT stamp at the bottom of some white space. You can create this graphic in Photoshop or any photo-editing tool. I actually created this in Excel as WordArt. On the Page Layout tab, uncheck view Gridlines to create the white space. I then used the free Greenshot utility to capture a region of the screen.

Follow these steps to create the watermark:
-
1. Select the Page Layout view icon in the bottom-right corner of the Excel window.
2. Click in the Center Header zone at the top of the worksheet. Excel displays the Header & Footer Tools Design tab.
3. Click the Picture icon on the Header & Footer Tools tab. Browse for and select your picture. Excel inserts &[Picture] in the header.
If your graphic is too large or small, use the Format Picture icon. You can adjust the size, but not the location. If you need more or less white space, you will have to go back to Photoshop to change the graphic.
This figure shows the resulting graphic drawn in behind your numbers.

This article is an excerpt from Power Excel With MrExcel
Title photo by Sumit Saharkar on Unsplash
